What is Pliant?
Pliant is a provider of modern corporate credit cards that links directly into Capture Expense. What is Pliant? | Pliant Help Center
For further help on using Pliant, visit their help centre or read their FAQs.
Integrate Capture Expense with Pliant
For more information on integrating Capture Expense with Pliant, see Setting up integrations. It is also possible to set up Pliant integration directly from Pliant.
Once setup, the Pliant account can be viewed in Banking, below the Action menu on the right-side.
.png)
View Pliant information
If you have finance permissions:
From the Banking > Transactions tab, you can see the total spend of all unapproved transactions for each card holder.
Expand any row to see individual transaction and the status:
Incomplete: the transaction is still in the cardholder’s Expenses > Drafts
Submitted: the transaction is in the approval process.
Transactions will appear as soon as the card is used.
The Banking > Complete tab is displays all claims that have been fully approved.
.png) Additional functions
Additional functions
These are available from the menu on the right.
.png)
Reminder: You can select an individual card holder or all card holders and use the Send Reminder button in the right side actions menu to send notifications to remind card holders to submit their card expenses.
Export: provides you with the option to export the transaction data.
Assign: this option appears in the right-side action menu when you select a card holder and can be used to assign a user to a card. Press the Assign button and a list of all users will appear. Use the +Add option to allocate the card.
Delete Transaction: this option appears in the right-side action menu when you select a card holder and can be used to delete selected transactions.
Allocate cards to users
With Admin permissions:
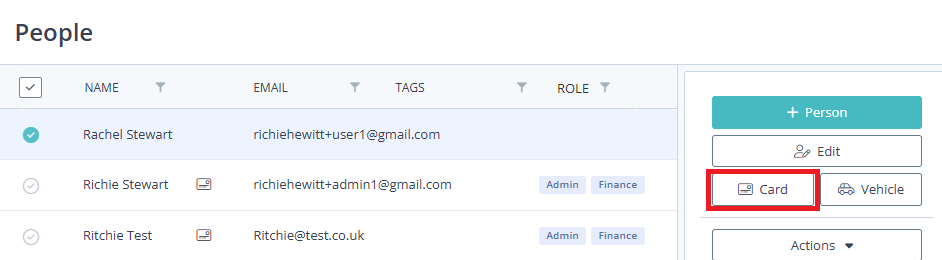
Go to Setup > People.
Select a user who is to be allocated a card.
Press the Card button in the right-side menu.
In the window that appears, from the Pliant Card drop-down, select the correct card.
Click Save.
.png)
The user’s People record will now display a card icon to the right of their name. This action will trigger a new menu item to appear for the user Receipts.
Un-allocate a card from users
Go to Setup > People.
Select the user who wish to remove the card from.
Click Card in the action menu on the right side.
Press Edit beside the card you want to remove.
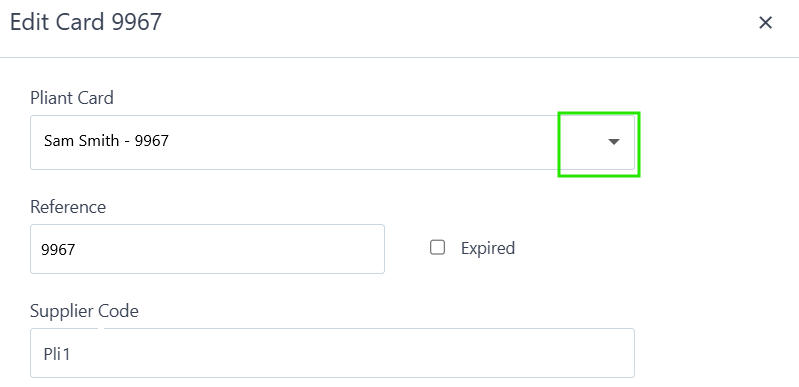
From the Pliant Card drop-down, select “New Card”.
Add a dummy card number (e.g. 0000) and card name (e.g. “Wrong card”).
Save.
This will un-allocate the card and put it back in the drop down list for you to allocate to the correct user.
Pliant card for users
Pliant card transactions will instantly appear in your Expenses > Drafts. When you upload the receipt, it will automatically match to the transaction.
If it does not match:
Select the transaction and press Edit from the menu on the right
Click in the Receipts inbox on the left of the claim form.
Select the receipt, then click Save.
.png)
If you have raise a claim with your own cash, see Raising draft expense claims.