Pre-approved expenses are expenses that are approved before any funds are spent. These are often used for expenses such as travel. Once created, they should be approved.
Each user can be assigned a pre-approval workflow. See Expenses pre-approvals.
To create a pre-approval request:
In the side menu, select Expenses.
Click the Pre-Approval tab.
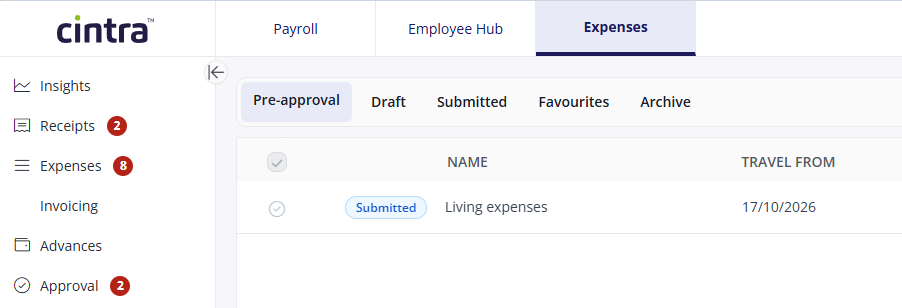
Click + Pre Approval.
Add the Name, Travel from and to dates, and Description.
Select a suitable Category of expense, e.g. hotel, and complete the Expense description, quantity and rate etc.
The fields will vary, depending on the category.
To add additional lines press + Expense and fill in the boxes.
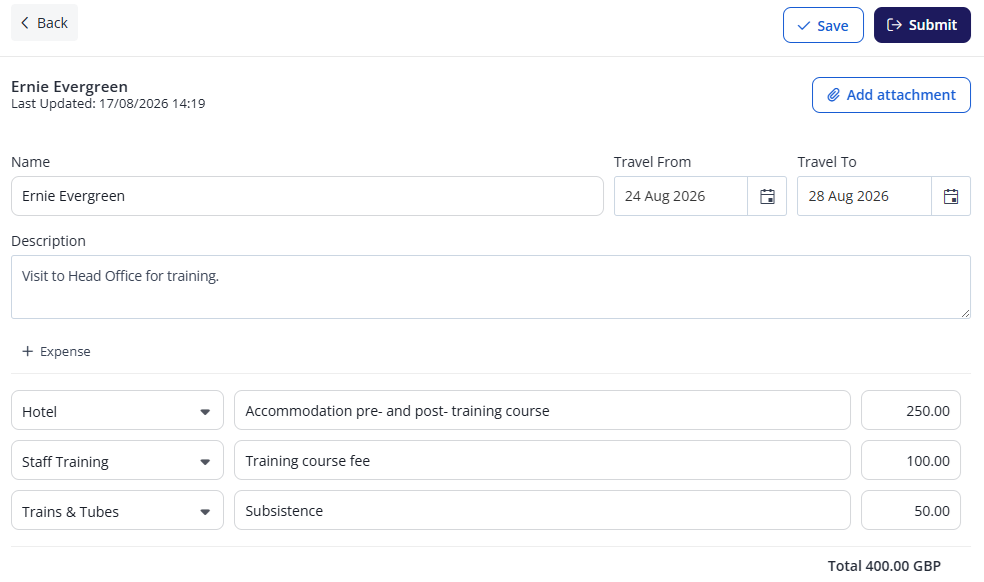
You can add attachments using the Add Attachment button to support your pre-approval request.
When complete, click Save a draft or Submit your pre-approval request. A saved request will appear in your Expenses > Pre-Approval tab flagged as a draft.
Editing / updating a pre-approval request
You can make changes to any draft claim by selecting it and clicking Edit.
For each pre-approval, you can submit, delete, or add notes (web only). To do this, tick the claim’s check box, then click the Submit / Delete / Notes buttons on the right.

The flag on the left of the pre-approval will show its current status, e.g. draft, approved, or submitted.
