There are two ways to assign salary or allowances (e.g. a meal allowance or overtime rate) to an existing employee.
For individual employees, you can edit their employee record. See Salary & allowances.
If you have many employees to update, you can import them using a template.
Accessing the Salary & Allowances import screen
In the Payroll tab, open a payroll.
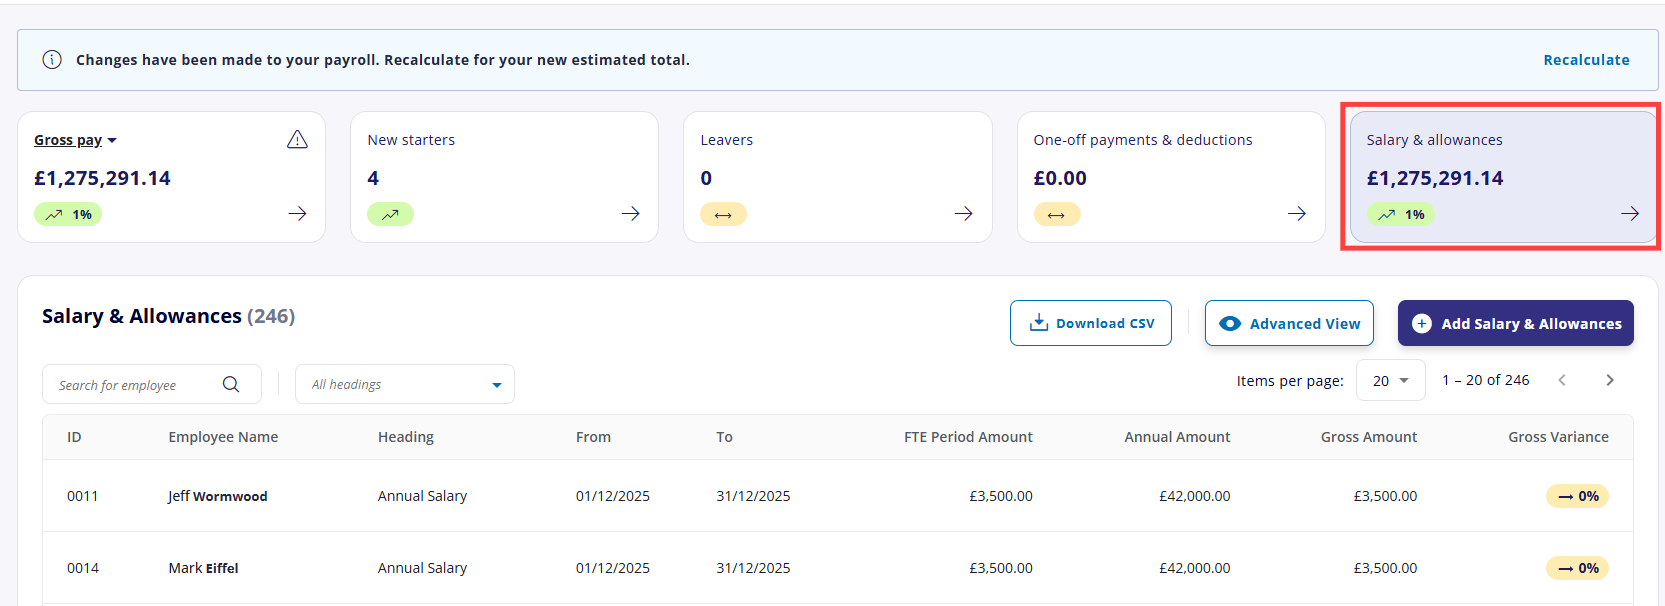
Select the Salary & allowances tile.
A list of existing salaries and allowances assigned to the current payroll are displayed, with the gross total and difference shown in the tile above.
Importing salary and allowances
Cintra People Payroll has a new import tool to streamline the import process. For more general information on the tool - including which other areas you can import to - see Bulk import.
Click the Add Salary & Allowances button.
.png)
Click Download template.
Alternatively, if you already have the import data in a separate spreadsheet, you can upload it directly without completing step 3.
Upload the completed and saved template in the area below.
Cintra People will help you match the columns in your spreadsheet to the correct fields. See Bulk import - Mapping columns.
After mapping columns, you will be shown a list of all the data to be imported, with any errors highlighted in red. These must be fixed before completing the import. See Bulk import - Fixing errors.
Completing the salary and allowance template
If you are using the template downloaded from Cintra People:
Open the downloaded template in Excel or other spreadsheet program.
You may have to select Enable Editing to make changes.
.png)
For each salary or allowance, you must add information for each column into a new row.
When you select any cell, a tooltip provides more information about any validation rules:
.png)
Add information into the following columns:
Employment ID, First Name, Surname.
From Date / To Date: In the format 17-Oct-2026. To Date is not mandatory if the salary / allowance is ongoing.
Addition Heading: Select from the drop-down list. This list is maintained in Cintra iQ. The Addition Heading you enter will determine whether you should enter an annual amount or rate, and whether you can inherit standard amount.
Annual Amount: For / annum addition headings, enter the annual figure in the format 123.45. Leave blank for rate-based headings.
Rate / Period Amount: Always required. For rate-based headings (e.g. / hour), enter the rate in the format 123.45. For / annum headings, enter 0 if no rate applies.
Inherit Standard Amount: Enter Y to use the default amount configured in Cintra iQ, instead of entering a figure manually. Not available for all addition headings.
Assigning benefits
For more information on where to assign different types of benefit to an employee, see Benefits: Where to enter each type of benefit.