Who can do this:
Team Manager
HR Manager
Administrator
Introduction
For more information on how to access and use Cintra People’s Employee Directory.
The Directory can be accessed by all employees, or you can restrict the access by role. The Directory will show basic information about your employees - Name, Job Title, Team, Email Address, Office Location and Telephone Number provided they are provided in the employee profiles. This can also be viewed as an Org chart format by clicking the tab at the top to view the structure and layout of the company and parent teams.
.png)
You can view the directory by team or select All Teams. Users with the HR Manager role will be able to add employees directly from this page, and also view Joining and Former employees.
You can also add custom columns to the Directory, if you want to show additional information here. You can use the search bar on the top left to search for specific employees.
Making changes to the Directory
You can restrict access to the Directory. To do this:
Go to Directory > Config.
Use the tick boxes to select which roles have access to view the Directory. If you switch this off, users will no longer have the Directory menu item.

When you're happy with the changes, scroll to the bottom and click Save.
HR Essentials / HR Advanced customers only
You also have the option to add 2 custom columns to the Directory, based on any Custom fields you have set up in Cintra People.
This is also handled in General Settings.
Go to Directory > Config > scroll down.
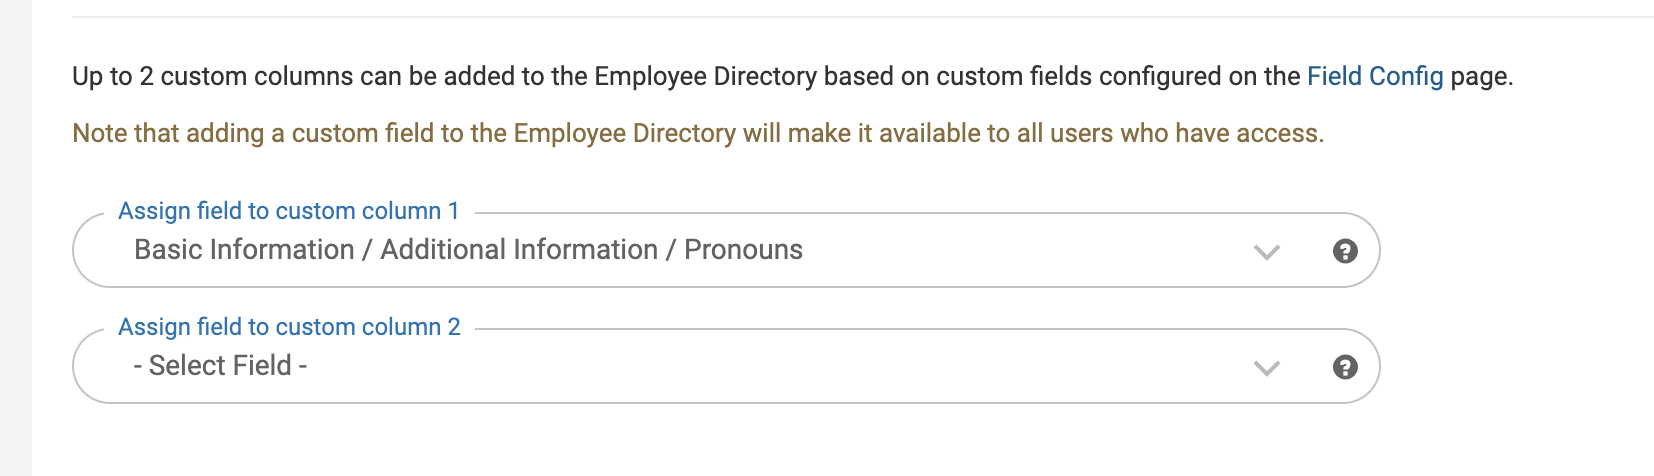
There are two drop down options for you to select the custom columns - these can only be custom fields you have set up. For more information on custom fields, see the following article: Categories & Fields
Select the custom column you would like. You will be prompted with a message to ensure you are happy with your selection, this is because it is revealing the information to the whole organisation, which may not reflect the security settings you have set up.
When you're happy with the selections, scroll to the top and click Save Changes.
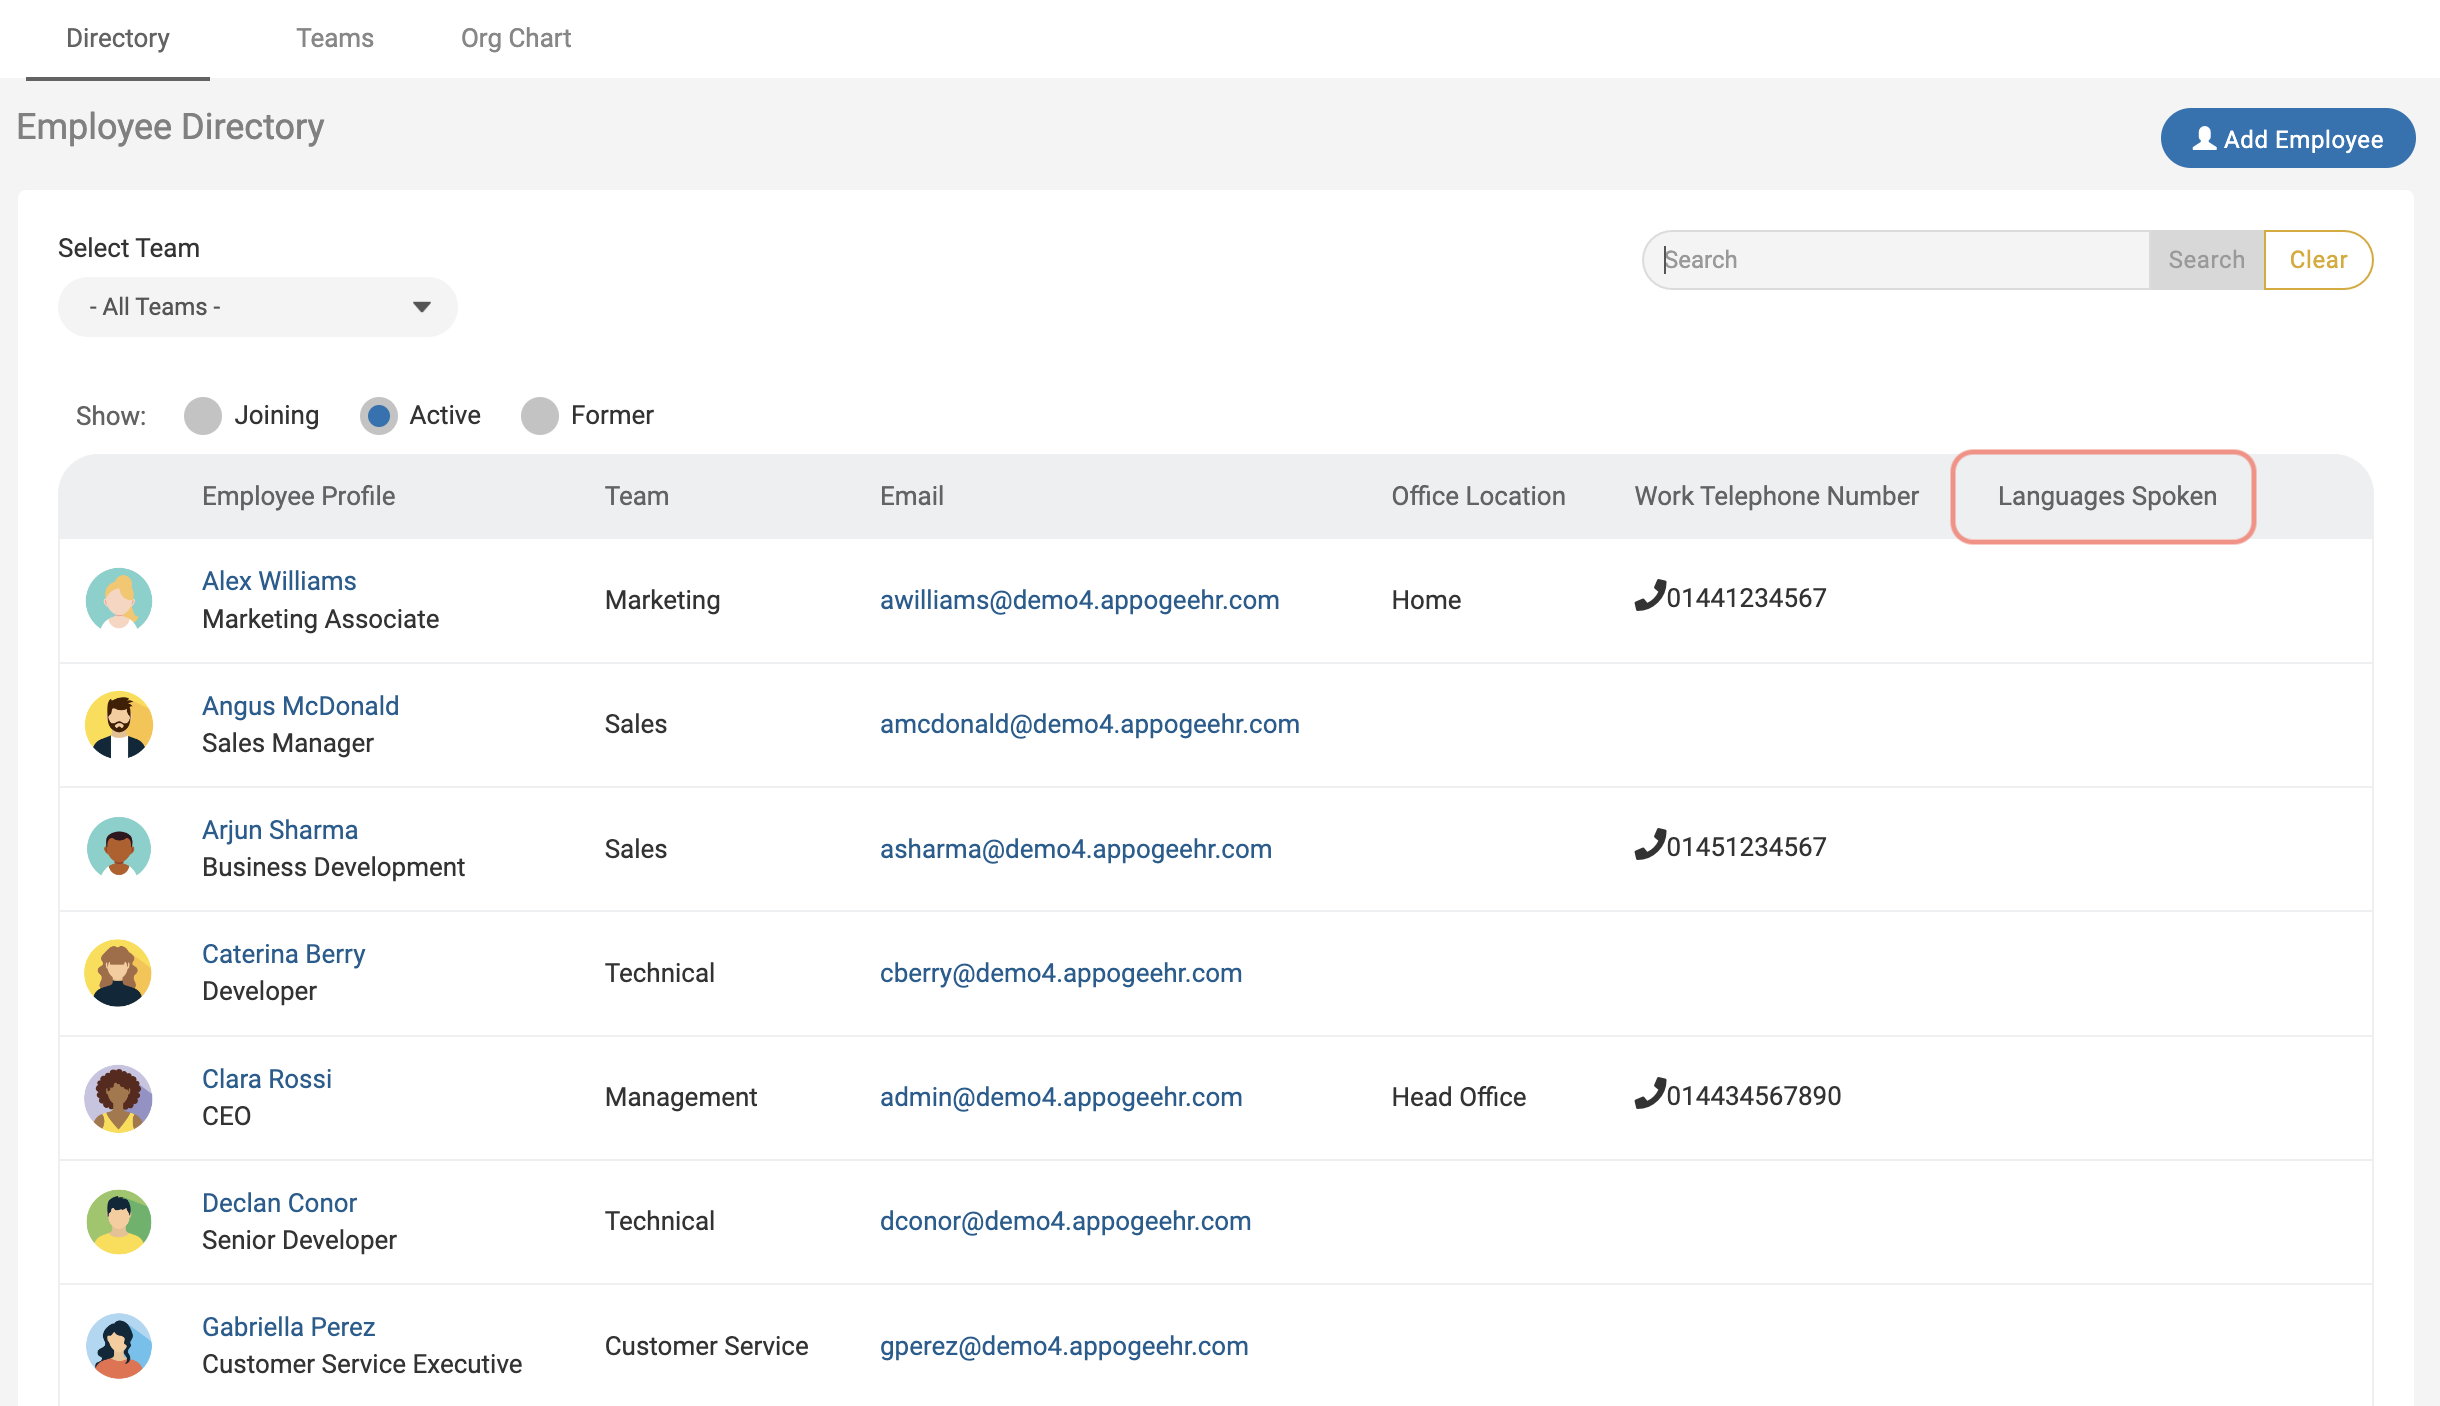
If you navigate to the Directory, you will now see the additional column(s) with the custom field you have added.
You will also be able to view which fields are set up to be Directory columns by going to Categories and Fields > Fields & Security.
The field will show here with the directory icon.
