Once your company has been registered and you have been setup as an admin user, you can add more users. If you have a lot of users, you may find it easier to import them.
Creating the first admin account
If you are new to Cintra People Expenses and need to create the first administrator, you can do it in one of the following ways:
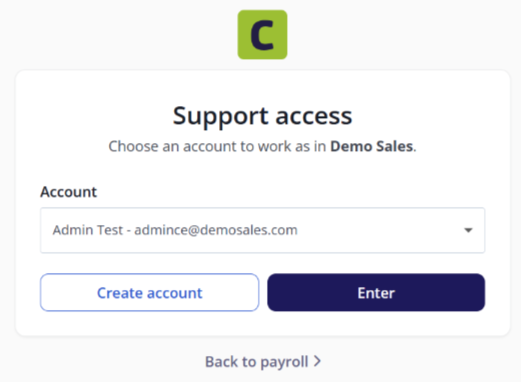
Login to Cintra People Payroll as an administrator.
Click the Expenses tab.
Click Create Account.
Enter the details of the new administrator,
Alternatively, you can create a new Expenses admin in the Payroll module. see Manage Payroll user accounts.
Creating a user account in Expenses only
Warning! Any user you create directly in Expenses will NOT sync with an employee record in Payroll. Therefore, the user will be shown as “Not linked” in the list of people in Expenses, and cannot be reimbursed through Payroll. Instead, you should sync users from Payroll.
Note: Only admins can create user accounts
In the Setup menu, select People.
Click + Person.
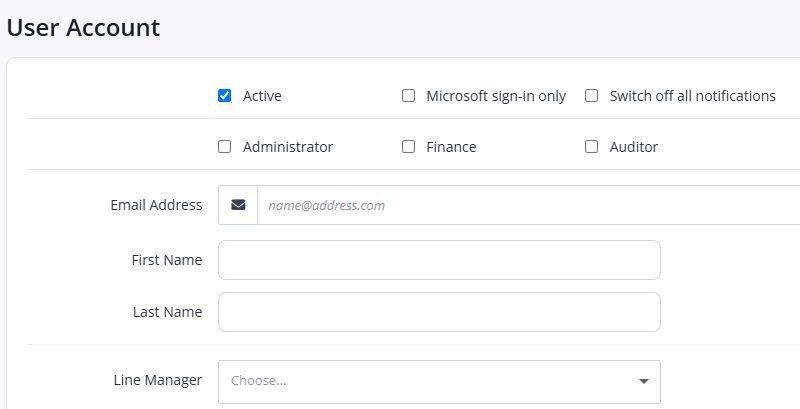
For information on all the user account fields, see User types and fields.
Click Save. The new user will be added to the list of people. However, they will not be able to access Expenses until you send them an invite.
Video: Creating users
These videos were recorded in Capture Expense. Some screens and labels may look slightly different in Expenses, but the steps remain the same.
Syncing users from Payroll to Expenses
Instead of adding users directly to Expenses, you should first add them as an employee to a payroll, and then they will be synced automatically to the Expenses tab and will appear under the people list in Setup > People. For more information on adding employees, see:
If you use Cintra People HR, you must first add them in the HR tab. See Add new members individually in HR.
If you don’t use Cintra People HR, you must first add them to a payroll in the Payroll tab. See Add an employee to a payroll.
If you do not want to wait for your list of users to sync from Payroll, you can do it manually by selecting Actions, then Sync Now.
Viewing the People list
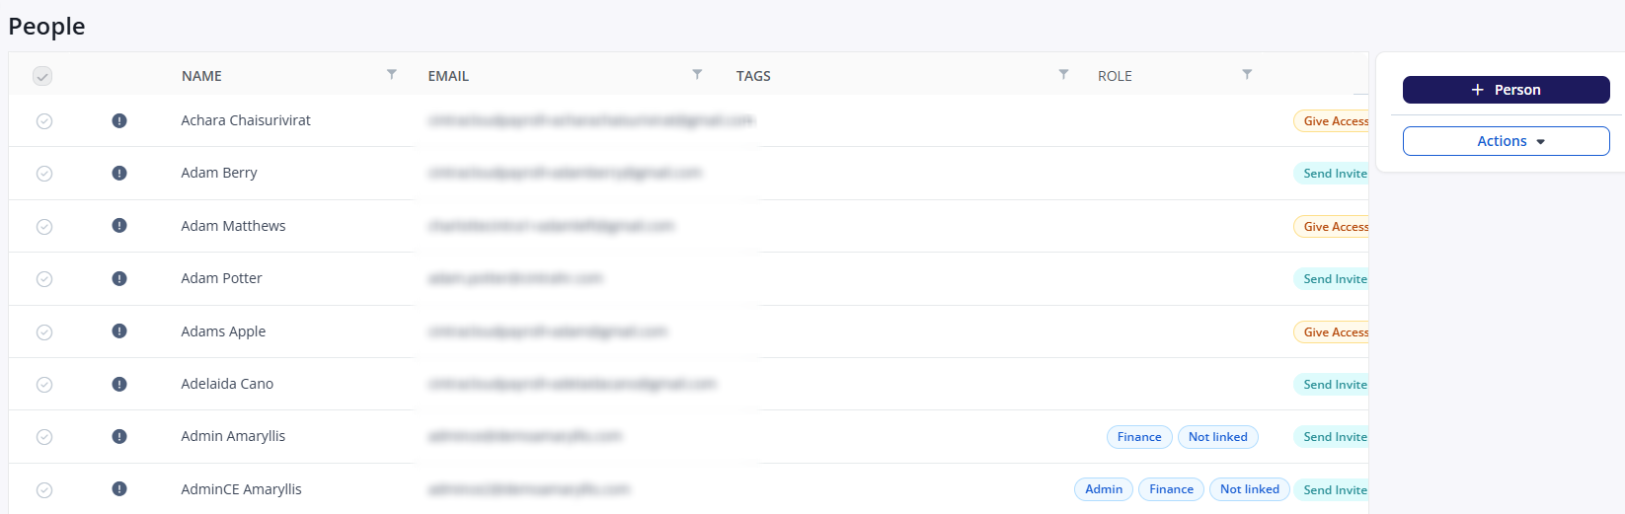
Each person in the list can have the following “pills” to show their role / status.
User types: Admin, Finance, or Auditor. Standard employees/users are shown without a “pill”.
Not linked: This person does NOT have a linked account in Payroll. This person will normally be an administrator.
Give Access: If the user has access to Cintra People Payroll and has logged in before (e.g. to view a payslip), you must still give them access to Expenses. See inviting users to Expenses below.
Send Invite: If the user has been synced from Cintra People Payroll but hasn’t yet logged in, you must send them an invite before they can start using Expenses. See inviting users to Expenses below.
Pending: The user has been sent an invite, but has not yet logged in.
Any user with a  icon does not yet have an approval workflow assigned to them.
To find a specific person, click the filter icon next to Name, select Contains, enter part of their name, then click Filter. Make sure you change the default Starts with option, otherwise you may need to enter the person's full name.
Deactivated users don't appear in the list. To find them, see Deactivating and reactivating Expenses users.
Inviting users to Expenses
In Setup > People, users who are yet to receive an invite will be shown with a Send invite label.
If you are integrated with Cintra People Payroll, some users may also have a Give Access status, which means they have logged into Payroll but don’t have access to Expenses.
Tick the box(es) beside any user you wish to send (or re-send) the invite.
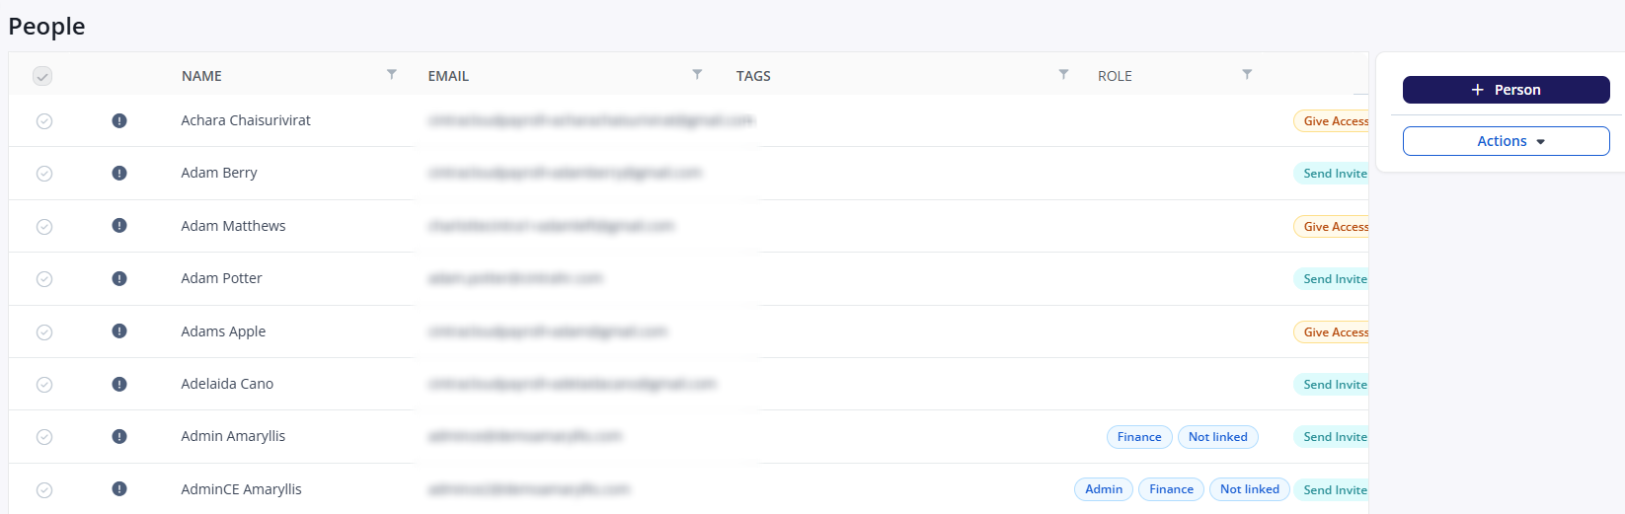
Expand the Actions menu on the right, then select Send Invitations.
Click Send Invitations to confirm. The status of the user(s) will change to Pending and the user(s) will receive a welcome email.
After the user signs in for the first time, their pending status will disappear.
Video: Inviting users
Editing users
In the Setup menu, select People.
Select the user you want to edit, then click Edit.
Make any changes, then click Save.
For more information about the user fields, see User types and fields.
Additional user actions
You can perform additional actions on any user by selecting their name in the list of people (Setup > People), then expanding the Actions menu on the right of the screen.
.png)
Note: The list of available actions may vary, depending on the user’s type, status, and which features of Expenses you have access to.
Name | Description |
|---|---|
Edit | Select this button to update the user's account details. |
Card | Select this button to assign a credit card to the user. |
Vehicle | Select this button to assign a vehicle to the user. |
Send invitation | Select this option to send or resend an invitation to the user. |
Export | Select this option to export all user record data. |
Import | Select this option to import user record data in bulk. |
Vehicle log | Select this option to track the vehicle mileage incurred by the user. |
Remove | Select this option to remove the user account record. |
Display invite link | Select this option to copy the invitation URL and send it to the user manually. |
Switch off a user’s notifications
By default, users and approvers receive email notifications when expenses are submitted or require approval. You can disable these for a specific user if needed.
Click the checkbox beside the user, then click Edit.
Select the Switch off all notifications checkbox, then click Save.
Note: Users can also manage their own notifications from their Preferences.
What should I do when a user leaves the organisation?
When a user leaves, you should deactivate their account by deselecting the Active checkbox against their account. See Expenses user types and fields.
Once deactivated, the user no longer appears in the People list. To find or reactivate them, see Deactivating and reactivating Expenses users.