Within Cintra People, you will have both an HR and Payrolls tab, and possibly an Expenses tab as well.
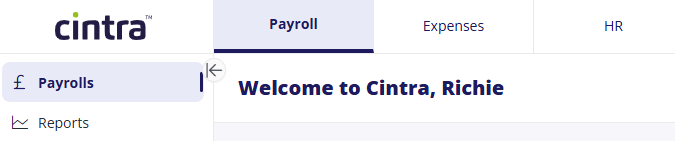
HR tab
When you access Cintra People HR, you will be presented with your dashboard, which you can customise to show the information most important to you.
.png)
Click to expand any screenshot in the help
The side menu on the left will display all the areas of the system you have permission to see and use, such as Leave, Documents, and Culture. Use the table of contents or search to find out more about them.
.png)
At the top-right of the screen you can see:
.png)
The name of your organisation(s) / payroll(s).
Alerts: Click to view your recent notifications.
Help: See Help and support.
Profile menu: From here, you can change your password, change your preferences, and sign-out.
Payroll tab
If you have payroll permissions, you will have a Payroll tab, with a different set of menu items.
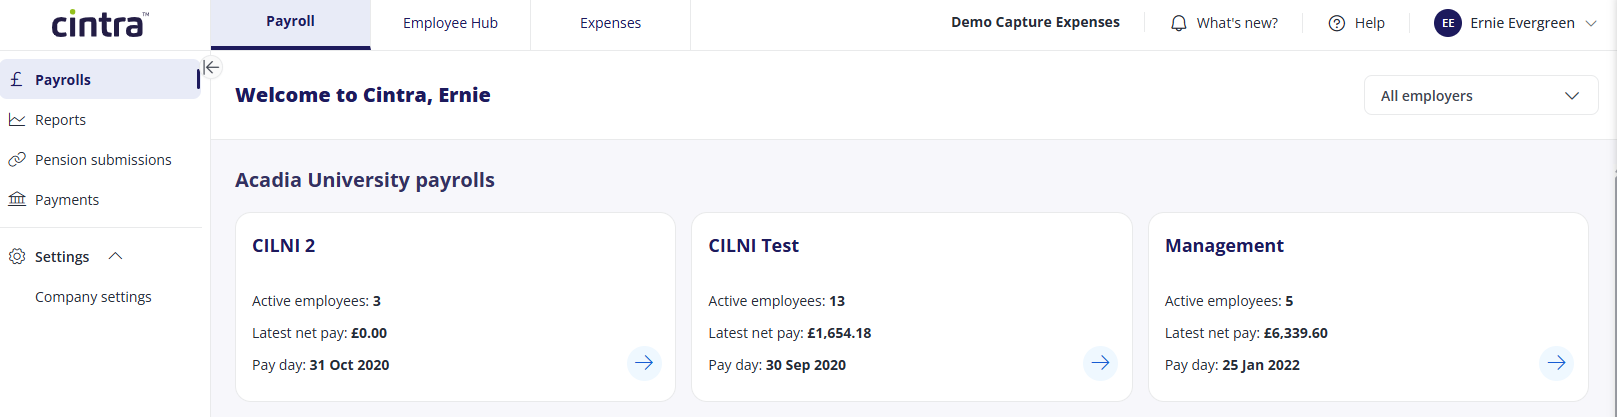
At the top right:
The name of your organisation (if you have access to multiple organisations, you can change this)
What's new? (Payroll tab only) Whenever a new update is released, you will see a notification icon. You can click What's new at any time to find out more about recent changes in Cintra People Payroll.
Help: See Help and support.
User menu: Change your passkey and authentication settings.
The side menu on the left gives you access to Payrolls and Reports, and other features such as pension submissions and payments.
For information on accessing the areas on the left, see the Payroll section of the help.
Expenses tab
If you are using the integrated version of Cintra People and you have Expenses permissions, you will have an Expenses tab, with a different set of menu items.
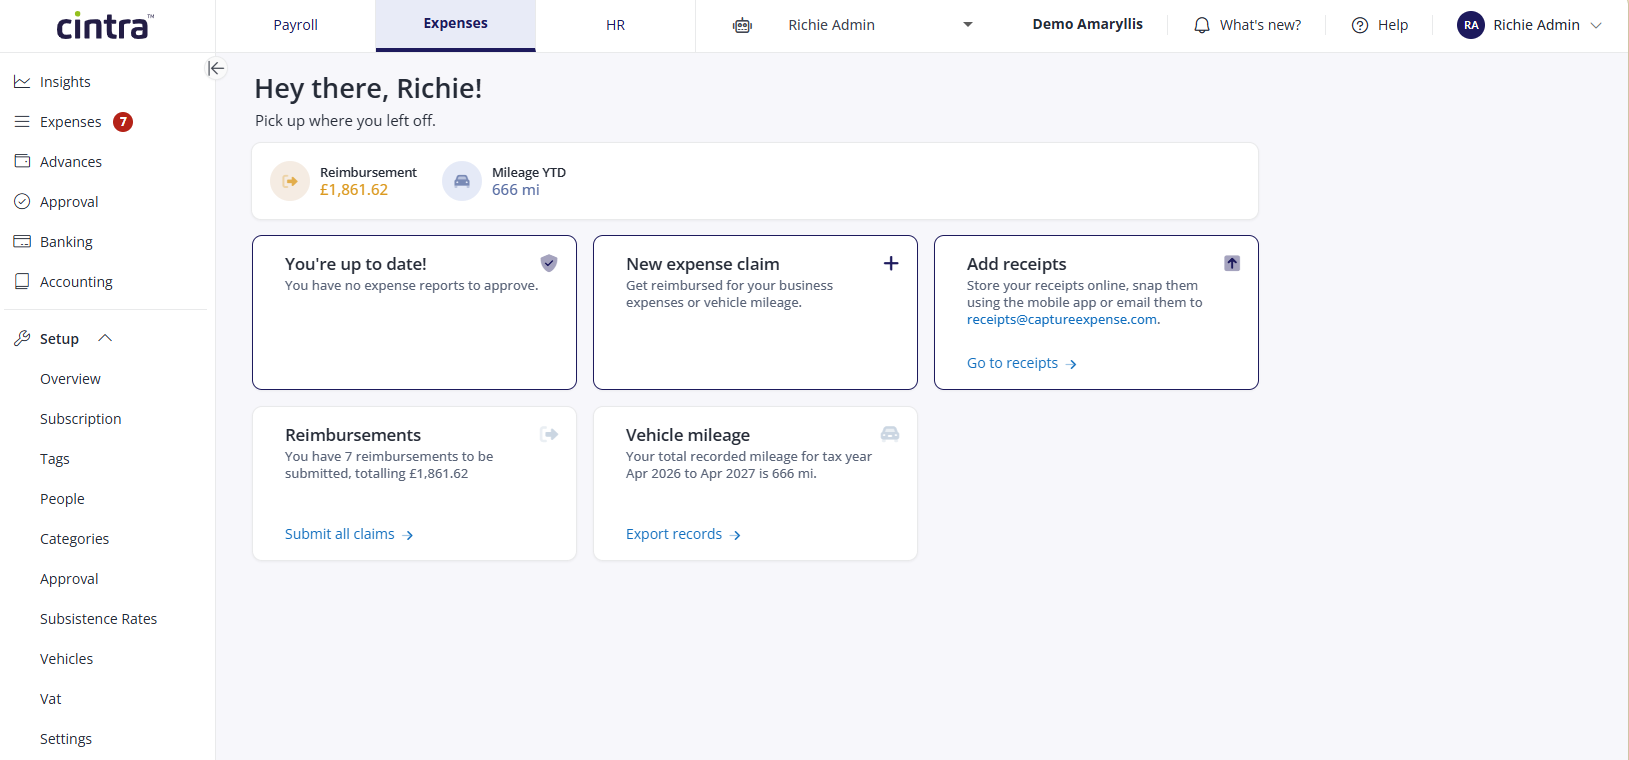
At the top right:
Ask James: Access the Expenses AI tool.
On-behalf-of selector: The dropdown next to the robot icon (showing your name alongside the organisation you're currently viewing) lets you create expense claims on behalf of another user - if you have permission.
What’s new: More information about the latest features added to Expenses.
Help: See Help and support.
User menu: Click your initials to return to your dashboard, change your preferences, and sign out.
The dashboard in the centre of the screen gives you an overview of your reimbursements and mileage, along with shortcuts to raise a new expense claim, add receipts, and submit or approve claims.
The side menu on the left gives you access to Expenses and its related areas, such as advances, approval, banking, and accounting, as well as setup if you're an administrator. For more information, see the Expenses section of the help.